You can add up to 500 prompts per org. This limit doesn’t include prompts installed from packages. You can add multiple prompts to the same page, but multiple prompts don’t appear at once.
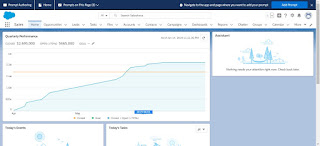
In this example, we will setup in-app guidance for our users to train them on Custom notification. We will setup prompt on homepage in Salesforce org to navigate them to my blog post.
Steps to configure in-app guidance are below:-
1. Go to setup -> quick search ->search for in-app guidance.
3. Navigate to the Application and then tab where you want to display prompt. Click on Add Prompt.
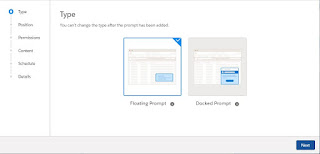
4. You can select the prompt type either Floating or Docked. We will select Floating here.
5. Click on next to select position. We can select location as top or bottom left, center, right.
6. We can setup permissions to give access to everyone or to users with specific permissions can view it.
7. From the content tab, enter title and body. You can add buttons.
Choose to have an informational prompt with a dismiss button only or add a specific call to action. The dismiss button closes the prompt. The optional action button opens a URL. Add Action button, if you want to navigate to external URL.
8. We can Choose a date range for the prompt to appear. Then, decide if the prompt should appear once or repeat.
9. Enter the details of the prompt.
10. Navigate to Application and click on Home tab. You will find prompt with custom notification. Click on custom button Learn. It will navigate to blog link.
Click on open button. It will open blog post. Your users/reps can learn about custom notifications from there.
Please follow video with step by step information to configure.
Reference link:-


No comments:
Post a Comment
Please add your comments here